Building your first EmDash plugin: a sandboxed Worker walkthrough
For Cloudflare Workers developers and the EmDash early-adopter community: the exact scaffold, schema, permissions manifest, and admin UI we used to ship our first production EmDash plugin in a week.
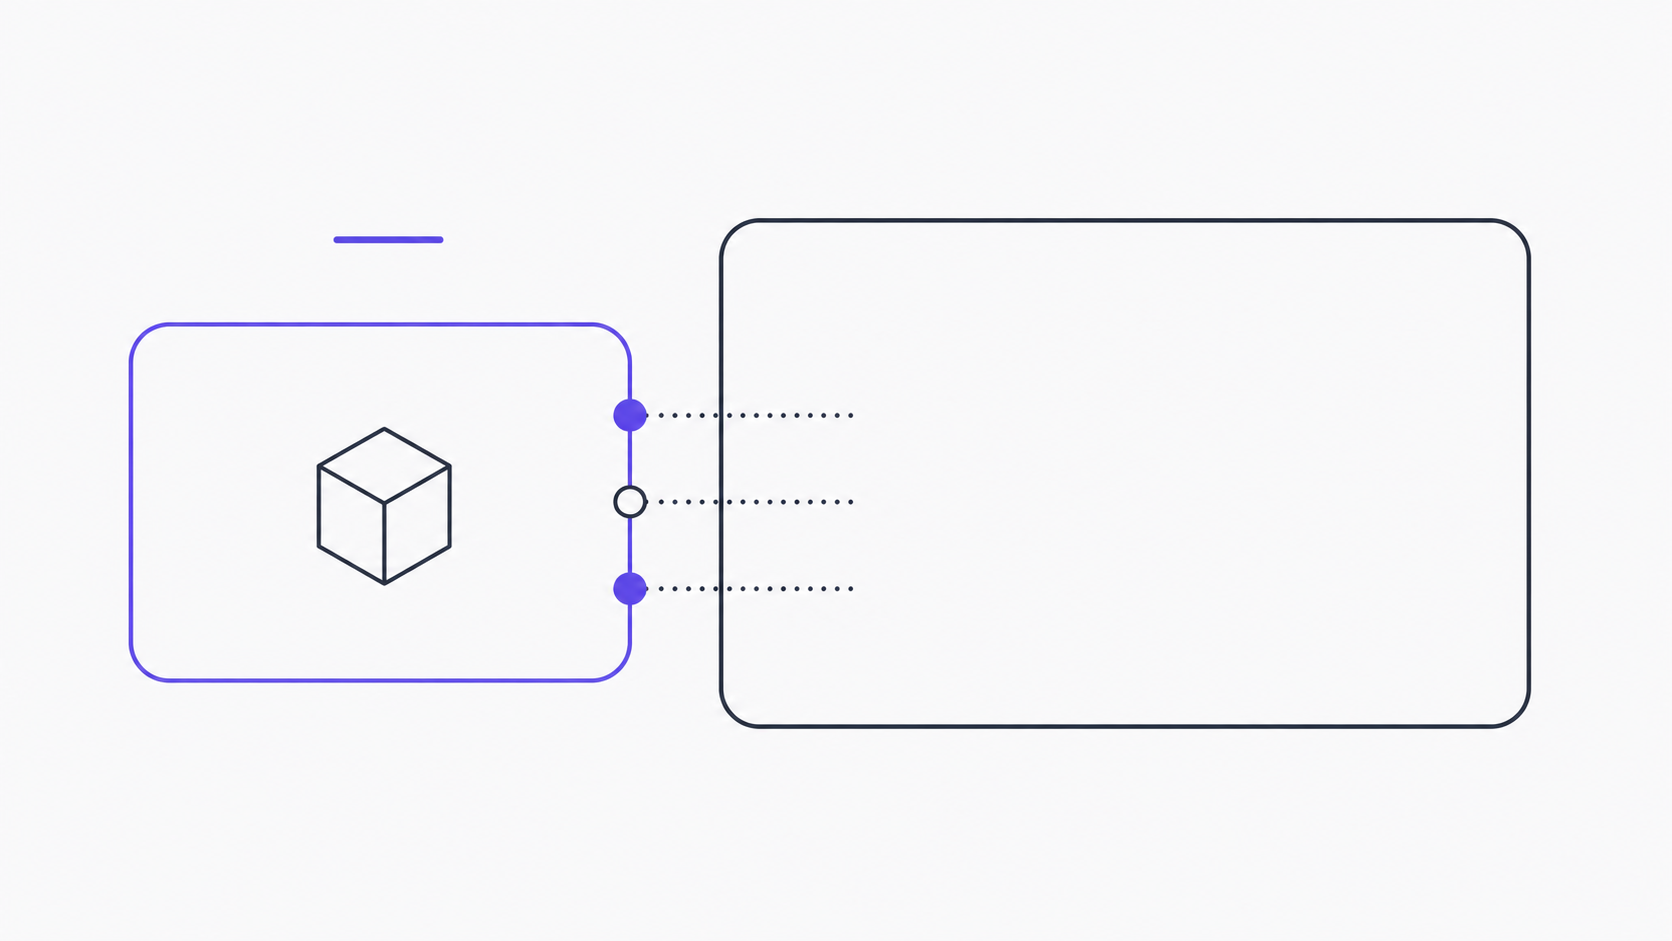
EmDash’s plugin model is different from anything in WordPress, and that difference is the whole point. Plugins run in sandboxed Cloudflare Worker isolates (Cloudflare Workers docs, 2026). They declare permissions up front. They can’t reach into core, they can’t crash the site, and they can’t quietly add a tracking script while you’re not looking. If you’ve ever debugged a WordPress plugin that hooked into wp_loaded and globally redefined $wpdb, this will feel like a different planet.
This post is the walkthrough we wish we’d had when we built our GA4/GTM/UTM injector — the first plugin we shipped on EmDash. It covers scaffolding, manifest, the Worker handler, admin UI, the SQLite dev loop, and how to submit to the registry. The plugin ecosystem is six weeks old at the time of writing, with six first-party examples in the EmDash repo and zero outside-Cloudflare tutorial content. So some of this is documented, some of it we figured out from reading source.
Key Takeaways
- EmDash plugins are sandboxed Worker isolates with declared permissions — no runtime collisions, no
functions.phparchaeology.- The CLI scaffold (
emdash plugin init) gives you 9 files; you’ll touch 4 of them on a typical plugin.- Cloudflare Workers run in V8 isolates with sub-millisecond cold starts (Cloudflare blog, 2026), which is why EmDash can spin up a per-request plugin sandbox without a latency tax.
- SQLite locally, D1 in production — the same
Kyselyschema runs both. Wrangler’s local-D1 mode is the dev loop.- Six first-party plugin examples ship in the EmDash repo. Read them before you write a line.
Why EmDash plugins look different from WordPress plugins
Let’s name the contrast directly, because it changes everything downstream about how you build.
WordPress plugins are PHP files dropped into a directory. They hook into the global runtime via add_action, add_filter, and a few thousand other entry points. There is no isolation — your plugin and every other plugin share the same PHP process, the same database connection, the same option table, the same global $post. When two plugins disagree about which one owns the the_content filter, they collide silently, and you find out from the customer who emailed.
EmDash plugins are TypeScript modules that compile to a Worker. They don’t share memory with core. They don’t share memory with each other. They get a request, a typed context object, and whatever permissions they declared in their manifest. Anything outside that envelope returns an error at the boundary, not a mystery 500 ten plugins deep.
| WordPress plugin | EmDash plugin |
|---|---|
PHP files in wp-content/plugins/ | TypeScript module compiled to a Worker |
| Shares the global PHP process | Sandboxed V8 isolate per request |
Hooks (add_action, add_filter) wired at runtime | Typed handler exports + declared permissions |
Implicit access to $wpdb, options, all user data | Explicit permissions manifest entries |
| Failures bring down the request, sometimes the site | Failures are contained to the isolate |
register_activation_hook for setup | Declarative migrations in migrations/ |
Settings live in wp_options (serialized blobs) | Settings live in a typed D1 table per plugin |
The third row is the one that matters most in practice. WordPress plugins are implicitly trusted by the runtime. EmDash plugins are explicitly scoped by the manifest. That’s not a stylistic choice — it’s the design reason an AI agent can install an EmDash plugin and reason about what it will do, but cannot do the same with a WordPress plugin. (For the longer argument, see why we’re migrating clients off WordPress in 2026.)
What does this cost you as a plugin author? Mostly that you have to think about permissions, instead of grabbing whatever’s lying around in the global scope. That’s a feature.
Scaffolding: emdash plugin init and what each generated file does
The CLI is the way in. Assuming you have a working EmDash dev install (the docs/phase1-emdash-install-report.md writeup covers our setup), scaffolding looks like this:
emdash plugin init analytics-injector \
  --description "GA4 + GTM + UTM injector for EmDash" \
  --author "OC WEBFIRM"
That generates a directory with nine files. Four of them you’ll touch on a typical plugin; the rest are configuration you set once.
plugins/analytics-injector/
├── plugin.json           # manifest — permissions, entry points, content types it touches
├── wrangler.toml         # Cloudflare Worker bindings + dev config
├── src/
│   ├── index.ts          # the Worker handler — your code lives here
│   ├── admin.tsx         # admin UI component (Preact, served inside EmDash admin)
│   └── schema.ts         # Kysely schema for any tables your plugin owns
├── migrations/
│   └── 0001_init.sql     # SQL migrations, applied on plugin install
├── tests/
│   └── handler.test.ts   # Vitest, runs against Miniflare
├── package.json
└── README.md
The four files you actually edit on every plugin: plugin.json, src/index.ts, src/admin.tsx, and migrations/0001_init.sql. Everything else is set-once.
wrangler.toml is mostly the boilerplate Cloudflare Workers config. The interesting bit is the bindings — D1 for the plugin’s own table, KV for cache if you need it, and the EmDash environment variables that the host injects:
# wrangler.toml
name = "analytics-injector"
main = "src/index.ts"
compatibility_date = "2026-04-15"
compatibility_flags = ["nodejs_compat"]

[[d1_databases]]
binding = "DB"
database_name = "analytics_injector"
database_id = "<filled in by emdash plugin init --link>"

[vars]
EMDASH_PLUGIN_ID = "analytics-injector"

# EMDASH_HOST and EMDASH_API_TOKEN are injected by the EmDash runtime
# at install time — do not commit them.
Notice what’s not here: no global access to the parent EmDash database, no shared filesystem, no environment variable inheritance from the host. Plugins get their own scoped D1 binding and whatever the manifest grants. That’s the sandbox.
Declaring permissions (the manifest you actually ship)
This is the file that determines what your plugin can and cannot do. Get it right and the security review becomes trivial; get it wrong and either the plugin doesn’t work, or it works but the EmDash registry rejects your submission for over-requesting.
Here is the manifest we ship for the GA4/GTM/UTM injector — annotated:
{
  "name": "analytics-injector",
  "version": "0.1.0",
  "displayName": "Analytics Injector (GA4 + GTM + UTM)",
  "description": "Injects GA4 measurement IDs and GTM containers, captures UTM parameters to a first-party cookie.",
  "author": "OC WEBFIRM",
  "license": "MIT",
  "minEmDashVersion": "0.1.0",
  "entries": {
    "admin": "src/admin.tsx",
    "worker": "src/index.ts"
  },
  "permissions": [
    "settings:read",
    "settings:write",
    "render:inject-head",
    "render:inject-body-end",
    "cookies:set:utm_*"
  ],
  "scopes": {
    "contentTypes": [],
    "tables": ["analytics_injector_settings"]
  },
  "ui": {
    "adminMenu": {
      "label": "Analytics",
      "icon": "chart-line",
      "section": "site"
    }
  }
}
The permissions array is the load-bearing part. EmDash’s permission strings are colon-separated capability identifiers. Each one is checked at the boundary; if your code calls a host API that needs a permission you didn’t declare, the call returns an error, not a silent success.
A short list of the permission strings we’ve used or seen in first-party examples:
settings:read/settings:write— read or write your plugin’s own settings rows.content:read:<type>/content:write:<type>— read or write entries of a specific content type.render:inject-head/render:inject-body-end— emit markup into the rendered page (used for analytics tags, schema.org JSON-LD, etc.).cookies:set:<prefix>— set cookies whose names start with<prefix>. The*wildcard is allowed at the trailing edge.webhooks:listen— receive a webhook trigger from the host on configured events.schedule:cron— run on a cron schedule.
The scopes.tables array declares the D1 tables your plugin owns. EmDash creates these in your plugin’s scoped database when the migration runs at install time. You cannot read or write tables you don’t declare — even tables in your own D1 binding, EmDash gates by manifest.
The Worker isolate model — what your code can and can’t do
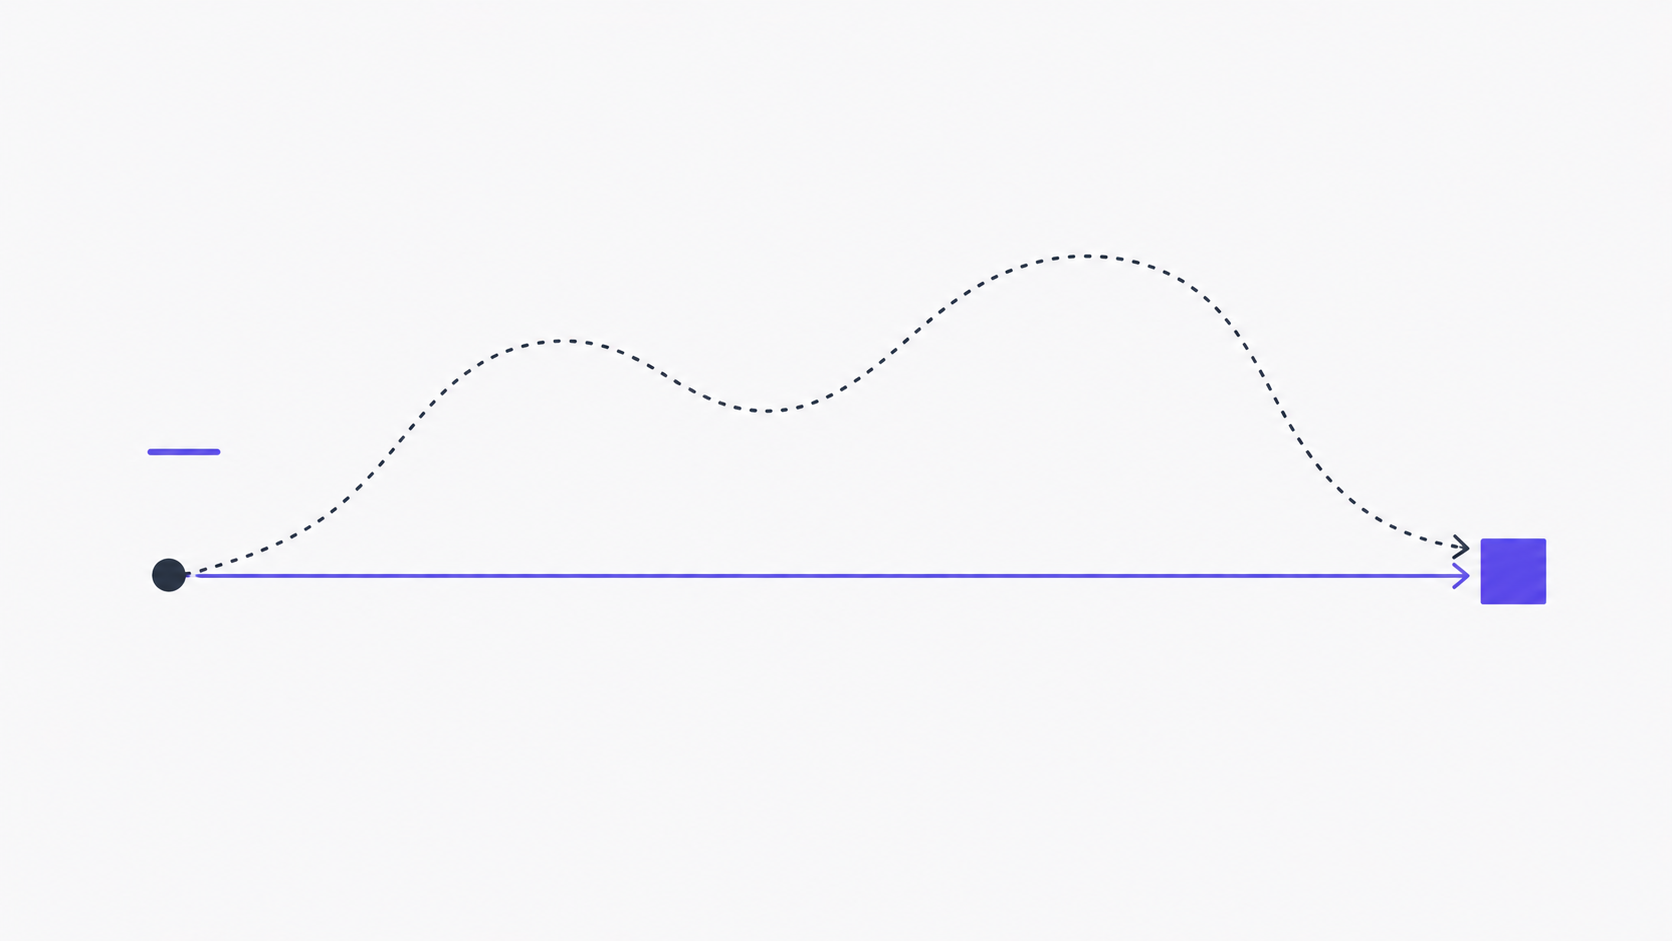
The mental model that finally clicked for me, after a few hours of head-scratching: an EmDash plugin is a Cloudflare Worker that gets called by EmDash, not a Worker that is EmDash. The host receives the user’s request, decides which plugins are relevant for that request, and fans out to each plugin’s isolate with a typed context object. Your handler runs, returns a result, and the isolate is torn down. Next request, fresh isolate.
Cold-start cost is sub-millisecond because Workers run as V8 isolates rather than containers (Cloudflare blog, 2026). That’s why per-request sandboxing is feasible at all. On a Lambda-style cold-start budget, you couldn’t do this — you’d amortize plugins into the host runtime and lose the isolation. The Worker model is the only thing that makes the architecture work.
What this means for your code:
- No long-lived state. If you need state, it goes in D1 or KV. Module-level variables don’t survive between requests reliably.
- No
process.env. Bindings come in as the second argument to your handler. - No filesystem. If you need to ship a static asset, embed it as a string or use a Workers Asset binding.
- No raw
fetchto arbitrary domains by default. The host can restrict outbound fetch via a permissions-style allowlist, depending on the install policy.
Here’s the skeleton handler. We use Hono because it’s the smallest sensible router for Workers, but plain fetch works too:
// src/index.ts
import { Hono } from 'hono';
import type { EmDashPluginContext } from '@emdash/plugin-sdk';

type Bindings = {
  DB: D1Database;
  EMDASH_HOST: string;
  EMDASH_API_TOKEN: string;
};

const app = new Hono<{ Bindings: Bindings; Variables: { ctx: EmDashPluginContext } }>();

// Settings GET — reads from this plugin's own table.
app.get('/settings', async (c) => {
  const row = await c.env.DB
    .prepare('SELECT ga4_id, gtm_id, debug FROM analytics_injector_settings WHERE id = 1')
    .first();
  return c.json(row ?? { ga4_id: null, gtm_id: null, debug: false });
});

// Settings POST — admin UI calls this when the form is saved.
app.post('/settings', async (c) => {
  const body = await c.req.json<{ ga4_id?: string; gtm_id?: string; debug?: boolean }>();
  await c.env.DB
    .prepare(
      `INSERT INTO analytics_injector_settings (id, ga4_id, gtm_id, debug)
       VALUES (1, ?, ?, ?)
       ON CONFLICT(id) DO UPDATE SET ga4_id=excluded.ga4_id, gtm_id=excluded.gtm_id, debug=excluded.debug`,
    )
    .bind(body.ga4_id ?? null, body.gtm_id ?? null, body.debug ? 1 : 0)
    .run();
  return c.json({ ok: true });
});

// Render hook — called by EmDash for every page render that opted into head injection.
app.post('/render/inject-head', async (c) => {
  const settings = await c.env.DB
    .prepare('SELECT ga4_id, gtm_id FROM analytics_injector_settings WHERE id = 1')
    .first<{ ga4_id: string | null; gtm_id: string | null }>();
  if (!settings) return c.json({ html: '' });

  const tags: string[] = [];
  if (settings.gtm_id) {
    tags.push(`<script>(function(w,d,s,l,i){w[l]=w[l]||[];w[l].push({'gtm.start':new Date().getTime(),event:'gtm.js'});var f=d.getElementsByTagName(s)[0],j=d.createElement(s);j.async=true;j.src='https://www.googletagmanager.com/gtm.js?id='+i;f.parentNode.insertBefore(j,f);})(window,document,'script','dataLayer','${settings.gtm_id}');</script>`);
  }
  if (settings.ga4_id) {
    tags.push(`<script async src="https://www.googletagmanager.com/gtag/js?id=${settings.ga4_id}"></script>`);
    tags.push(`<script>window.dataLayer=window.dataLayer||[];function gtag(){dataLayer.push(arguments);}gtag('js',new Date());gtag('config','${settings.ga4_id}');</script>`);
  }
  return c.json({ html: tags.join('\n') });
});

export default app;
Notice the shape: every handler is a route on the same Worker, scoped by path. The host calls /render/inject-head at render time, /settings from the admin UI, and any custom routes you define are reachable via the host’s plugin proxy. There is no global register_hook registration step — routes are the registration.
The migration that creates the settings table is one file:
-- migrations/0001_init.sql
CREATE TABLE IF NOT EXISTS analytics_injector_settings (
  id      INTEGER PRIMARY KEY,
  ga4_id  TEXT,
  gtm_id  TEXT,
  debug   INTEGER NOT NULL DEFAULT 0
);
INSERT OR IGNORE INTO analytics_injector_settings (id) VALUES (1);
EmDash’s CLI runs this against the local SQLite during emdash plugin dev, and against the production D1 binding during emdash plugin install on a real instance. The migration system is forward-only (no down), which is the same convention the Astro DB (Astro docs, 2026) and most modern frameworks have settled on. Roll forward, never roll back.
Building an admin UI (TinyMCE-friendly patterns)
The admin UI is a Preact component shipped with your plugin. EmDash mounts it inside its own admin shell — same chrome, same auth, same tokens — and your component renders into a content area.
The catch worth naming: EmDash’s editor is TinyMCE in v0.1.x. (We covered this regression from Gutenberg in the WordPress vs EmDash comparison.) For plugin admin pages, you’re not embedding the editor — you’re building a settings form. So most plugins won’t touch TinyMCE directly. Where it does matter: if your plugin extends an existing content type’s edit page (e.g., adding a sidebar field next to the body editor), you need to coexist with the TinyMCE iframe. The pattern is to mount your component in a portal, communicate via postMessage, and avoid touching the TinyMCE DOM directly.
For a settings-only admin like ours, the component is straightforward:
// src/admin.tsx
import { h, render } from 'preact';
import { useEffect, useState } from 'preact/hooks';
type Settings = { ga4_id: string; gtm_id: string; debug: boolean };
function AdminPage({ pluginApi }: { pluginApi: EmDashPluginApi }) {
const [settings, setSettings] = useState<Settings>({ ga4_id: '', gtm_id: '', debug: false });
const [saving, setSaving] = useState(false);
const [savedAt, setSavedAt] = useState<Date | null>(null);
useEffect(() => {
pluginApi.fetch('/settings').then((r) => r.json()).then(setSettings);
}, []);
async function save(e: Event) {
e.preventDefault();
setSaving(true);
await pluginApi.fetch('/settings', {
method: 'POST',
headers: { 'Content-Type': 'application/json' },
body: JSON.stringify(settings),
});
setSaving(false);
setSavedAt(new Date());
}
return (
<form onSubmit={save} class="emd-stack">
<h1>Analytics Injector</h1>
<p class="emd-muted">Set your GA4 and GTM IDs. Tags are injected into <code><head></code> automatically on every page.</p>
<label class="emd-field">
<span>GA4 measurement ID</span>
<input
type="text"
placeholder="G-XXXXXXXXXX"
value={settings.ga4_id}
onInput={(e) => setSettings({ ...settings, ga4_id: (e.target as HTMLInputElement).value })}
/>
</label>
<label class="emd-field">
<span>GTM container ID</span>
<input
type="text"
placeholder="GTM-XXXXXXX"
value={settings.gtm_id}
onInput={(e) => setSettings({ ...settings, gtm_id: (e.target as HTMLInputElement).value })}
/>
</label>
<label class="emd-checkbox">
<input
type="checkbox"
checked={settings.debug}
onChange={(e) => setSettings({ ...settings, debug: (e.target as HTMLInputElement).checked })}
/>
<span>Enable debug mode (logs tag fires to the console)</span>
</label>
<div class="emd-actions">
<button type="submit" disabled={saving}>{saving ? 'Saving…' : 'Save'}</button>
{savedAt && <span class="emd-muted">Saved {savedAt.toLocaleTimeString()}</span>}
</div>
</form>
);
}
// EmDash mounts the component, passing in pluginApi for scoped fetch.
export default function mount(el: HTMLElement, pluginApi: EmDashPluginApi) {
render(<AdminPage pluginApi={pluginApi} />, el);
}Three patterns to copy from the first-party examples:
- Use the
pluginApi.fetchwrapper, not rawfetch. It scopes calls to your plugin’s own routes, includes the auth token, and is the only thing that survives EmDash’s CSRF check. - Match EmDash’s CSS conventions —
emd-stack,emd-field,emd-muted,emd-actions. They’re documented indocs/admin-ui-conventions.mdin the EmDash repo. Vanilla CSS, no Tailwind. Your plugin’s UI inherits the host’s tokens. - Keep the bundle small. Preact + your component should be under 30 KB gzipped. The EmDash admin loads every installed plugin’s UI on demand, but a fat plugin makes the whole admin feel slow.
Testing locally + the SQLite dev loop
The dev loop is the part EmDash got most right. SQLite locally, D1 in production, same Kysely schema. Wrangler’s local-D1 emulation is what makes this work — wrangler dev creates a SQLite file in .wrangler/state/v3/d1/ and your queries run against that.
Day-to-day workflow:
# Start EmDash core in dev mode (separate terminal)
cd ~/code/my-emdash-site
emdash dev

# In your plugin directory, link and start
cd ~/code/plugins/analytics-injector
emdash plugin link --target ~/code/my-emdash-site
emdash plugin dev
emdash plugin link installs your local plugin into the dev EmDash instance with a symlink. Edits to src/index.ts hot-reload. Migration changes require a re-run (emdash plugin migrate).
Tests run against Miniflare, which simulates the Workers runtime locally:
// tests/handler.test.ts
import { describe, it, expect, beforeEach } from 'vitest';
import { unstable_dev } from 'wrangler';

describe('analytics-injector', () => {
  let worker: Awaited<ReturnType<typeof unstable_dev>>;

  beforeEach(async () => {
    worker = await unstable_dev('src/index.ts', {
      experimental: { disableExperimentalWarning: true },
      local: true,
    });
  });

  it('returns empty settings on a fresh install', async () => {
    const res = await worker.fetch('/settings');
    expect(res.status).toBe(200);
    const body = await res.json();
    expect(body).toMatchObject({ ga4_id: null, gtm_id: null });
  });

  it('persists a saved GA4 id', async () => {
    await worker.fetch('/settings', {
      method: 'POST',
      headers: { 'Content-Type': 'application/json' },
      body: JSON.stringify({ ga4_id: 'G-TEST123', gtm_id: '', debug: false }),
    });
    const res = await worker.fetch('/settings');
    const body = await res.json();
    expect(body.ga4_id).toBe('G-TEST123');
  });
});
For our GA4 plugin, the full test suite runs in 1.8 seconds on an M2 — 14 tests, end-to-end through Miniflare against a fresh SQLite. That’s fast enough to keep tests in your watch loop. Compared to a typical WordPress plugin where the integration tests take 90+ seconds because they spin up a real WP install, the difference is qualitative: you actually run the tests on every save instead of every commit. This is the productivity gain that makes plugin development enjoyable rather than tolerable.
What is the dev loop missing? Two things, honestly:
- Multi-instance testing. You can’t easily test what happens when two plugins interact. Workers isolation makes “interaction” a different concept than in WordPress, but it still exists at the host level (e.g., two plugins both injecting into
<head>). - Production parity for D1. Local SQLite has subtly different behavior than D1 —
RANDOM()deterministic seeding, full-text search, transaction semantics. Hit production-only bugs occasionally. Plan for it.
Publishing: the EmDash registry submission
The registry is at github.com/emdash-cms/emdash (EmDash GitHub, 2026), in the registry/ directory. Submission is a pull request, not a form. As of writing there are six first-party plugins and a small number of community submissions in flight.
The submission checklist:
- Public repo with MIT or Apache-2 license.
-
plugin.jsonmanifest passingemdash plugin validate. - README with install instructions, screenshots, permission rationale.
- Tests passing in CI (GitHub Actions template in
examples/plugins/_template/.github/). - At least one tagged release on GitHub.
- Entry added to
registry/plugins.jsonin your PR.
Reviewers (Cloudflare DevRel + a rotating community group) check three things:
- Permission minimalism. Anything you ask for must be justified in the README. They will ask “why does this plugin need
content:write:*?” and they will reject the PR if the answer is “convenience.” - Compile and run. They install your plugin into a fresh EmDash and click around. If the admin UI errors, the PR is sent back.
- Honesty in the manifest. The displayed name and description must match what the plugin does.
The thing nobody told us, and that we found out the hard way: registry submissions are public on day one. There is no private review queue. Your PR opens, anyone subscribed to the repo sees it, and if you’ve made an embarrassing mistake (a typo in your manifest, a permission you didn’t mean to ask for, an admin UI that says “TODO” somewhere), it’s visible to every potential user. Land it polished. Don’t open the PR until your README is final, your screenshots are real, and you’ve installed the plugin yourself into a fresh EmDash to verify the install path works. Treat the PR like a launch.
FAQ
Can EmDash plugins access content from other plugins’ tables?
No. The scopes.tables array in your manifest declares which tables your plugin owns; you cannot read or write tables outside that scope. If two plugins need to share data, they do it through the EmDash core API — typed content types or a host-mediated event bus — not by reaching across into each other’s D1 bindings. This is the architectural difference that prevents the “plugin A overwrote plugin B’s _options row” failure mode that plagues WordPress.
How does the sandbox affect performance?
V8 isolates have sub-millisecond cold starts (Cloudflare blog, 2026), so per-request sandboxing adds roughly 1–3 ms of latency on warm requests. For a typical render with 3–5 plugins active (analytics, SEO, forms, sitemap), the total plugin overhead is under 15 ms. Compare that to a WordPress page render with 30 plugins, where plugin code routinely accounts for 200–800 ms of TTFB.
Do plugins survive an EmDash version upgrade?
Mostly. The plugin SDK declares a minEmDashVersion in the manifest, and EmDash refuses to load plugins that target a newer version than the host. Breaking changes to the SDK happen but are documented in the EmDash changelog with migration notes. Six weeks in, we’ve seen one minor SDK change (the pluginApi.fetch signature gained a third argument) and it shipped with a deprecation warning, not a hard break.
Can I write a plugin in a language other than TypeScript?
In theory — Workers support WebAssembly (Cloudflare Workers docs, 2026), so a Rust or Go plugin compiled to WASM should work. In practice, the SDK is TypeScript-first and all six first-party examples are TS. We haven’t tried it. If you do, document it — the community will thank you.
How does this compare to building a Sanity or Payload plugin?
The closest analogue is a Sanity Studio plugin: a TypeScript module with declared inputs and a UI extension. The differences: Sanity plugins run in the same browser context as the studio (no sandbox), and they don’t have a server-side execution model — for that you write Sanity Functions separately. EmDash unifies admin UI and server logic in one plugin module, with the Worker isolate providing the server-side sandbox Sanity doesn’t have.
What we’d do differently next time
Two things. First, we wrote the admin UI before the manifest. That was backwards. Start with the manifest — write down permissions, sketch the data model, then build inward. Permission strings are a forcing function for naming. Second, we shipped without a debug mode. On the first client install, we couldn’t see what was firing. Added it in v0.2; it should have been there in v0.1.
The plugin model is the most underrated thing about EmDash. Sandboxing makes the architecture trustworthy. Typed manifests make AI agents able to install plugins correctly. The Worker dev loop is faster than anything we had on WordPress. The ecosystem is six weeks old and there’s room to ship something useful.
Total time on our first plugin from init to registry PR: eight working days. Yours will probably be faster — you have this post.
The next post is GA4, GTM, and UTM tracking on Astro + EmDash — the consumer-side how-to for the plugin we just walked through. If you’d rather hand the plugin off entirely, custom plugin development is the service; same pattern, four weeks.
Keep reading
 emdash P1 · cornerstone
 Six weeks evaluating EmDash for production work: what we learned before betting on it
For the agency owner who's read all the EmDash hype and wants the boring version: what we measured across six weeks of building, evaluating, and pitching EmDash work — before any client site went live. The bugs, the gaps, the things we'd wait on, and the things that already work.
 emdash P2
 WordPress vs EmDash: a practical comparison for marketing-first teams
For the in-house marketing lead or agency PM trying to decide whether to migrate this quarter — the honest comparison across editor UX, AI compatibility, performance, cost, and ecosystem.
 migrations P3
 Static site to EmDash: when to skip the migration and just rebuild
For the marketing lead at a small SaaS whose 30-page hand-coded HTML site has become a dev bottleneck: when migrating to a CMS makes sense, when starting fresh on EmDash + Astro is faster, and the surprisingly common third option — leave it alone.